Today almost 3 out of 5 people is having their personal wifi network at their homes and workplaces. Countless people steadily try to use other wifi networks by cracking their keys or by any other method. So, we have a cool trick by which you can individually allow your personal device to connect to your wifi network. So have a look at the complete method below to proceed. Also Read: How To Protect Your Wifi Network From Hackers
How To Allow Only Selected Device To Connect To Wifi Network
With this method, you will be allowing only your personal devices to be connected to your wifi network, and all other devices will not get connected to the wifi network, although if they have the password too. So just follow some simple steps below to proceed.
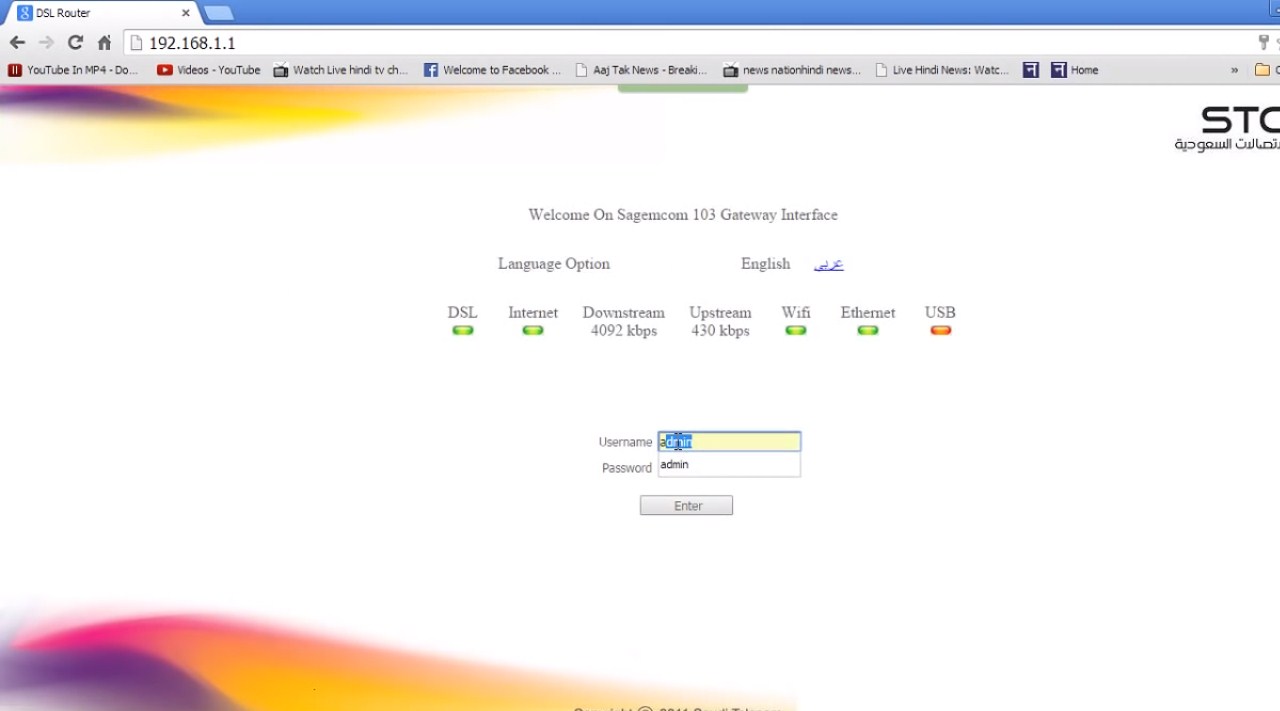
First of all, you need to connect your PC to the wifi network where you want to implement this. Now in your Web browser, enter the router’s IP address, which will be either http://192.168.0.1 or http://192.168.1.1 by default, or you can get it by entering an ipconfig command in CMD.
Now, enter the username and password of your router connection there.
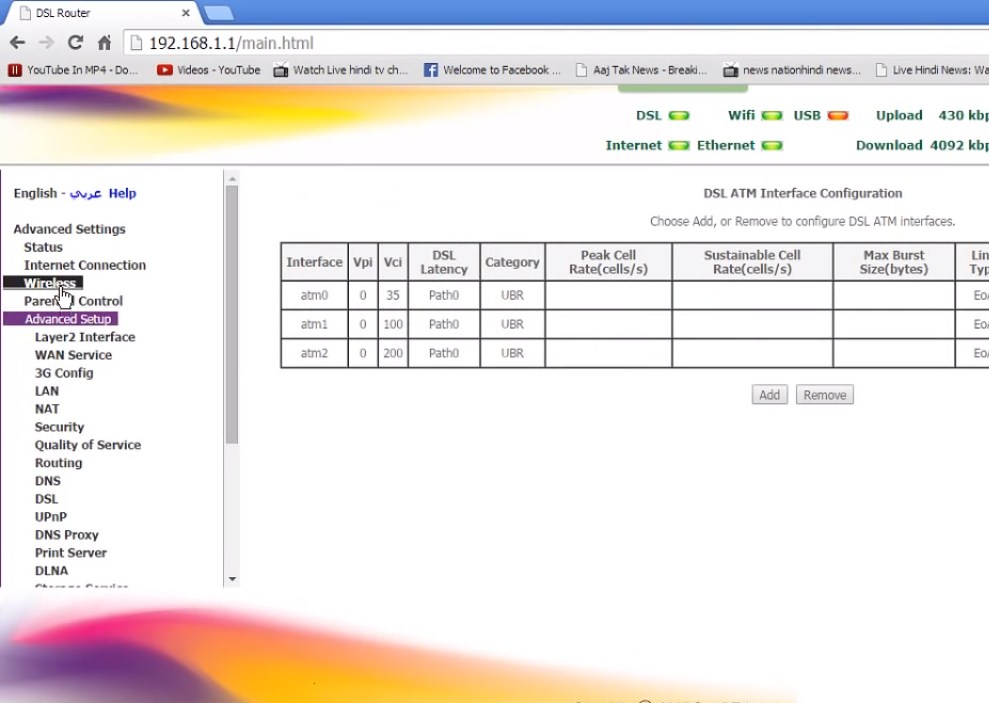
Now there, in router settings, go to Advanced > Wireless Settings. Now there, click on Setup Access List to open the Wireless Card Access List.
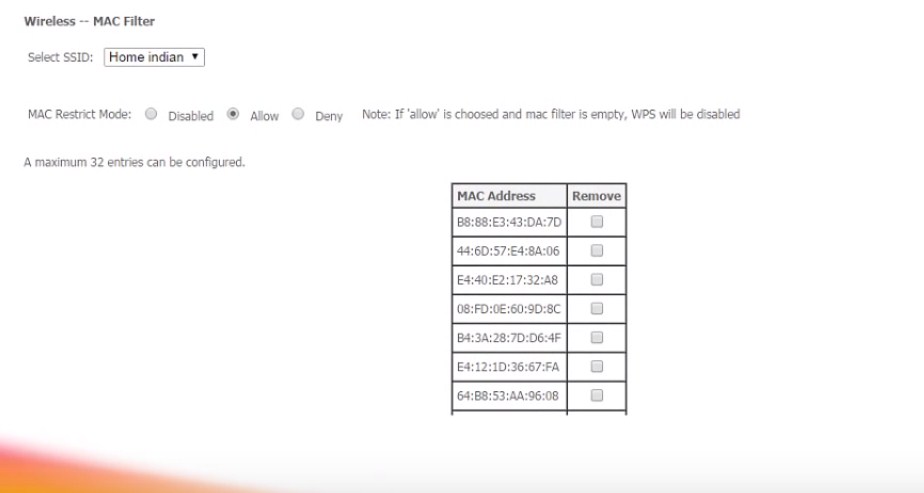
Now click on add button to add the device to connect to wifi. Now you will be entering the MAC address and name of a device that you want to allow on that network.
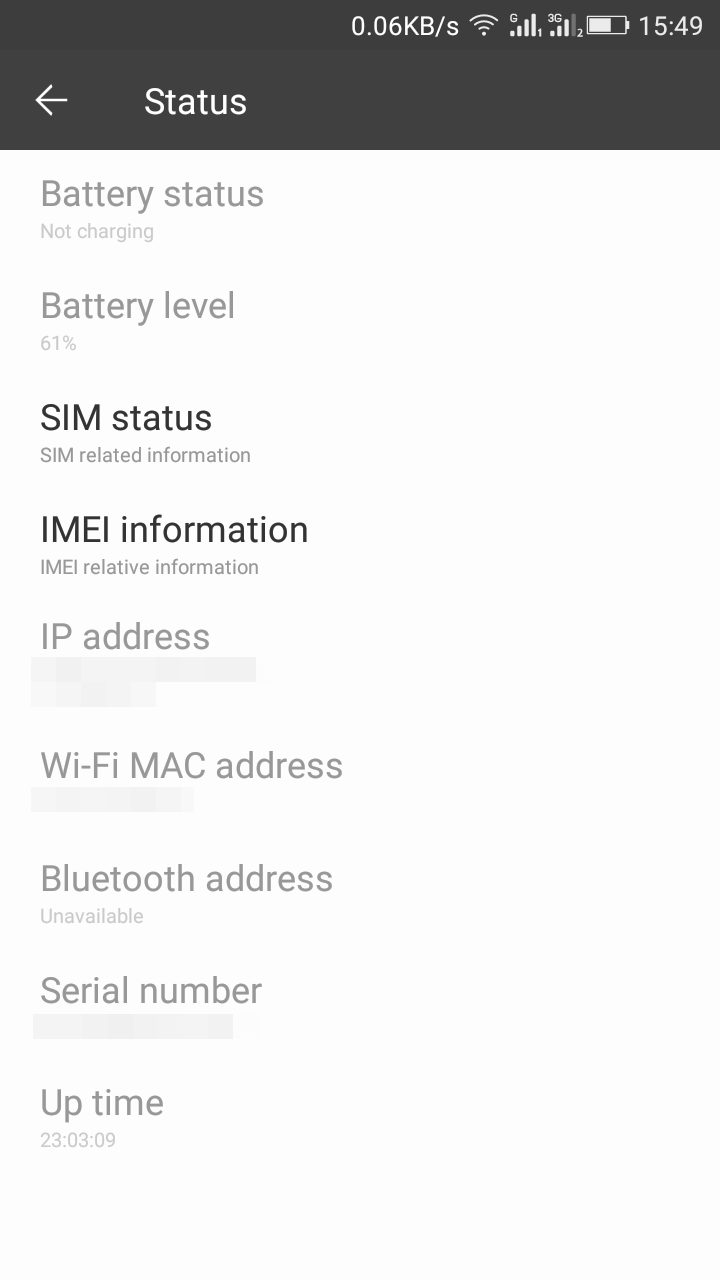
You can get the MAC address of your Android in About Phone in Settings. And in PC, you can find it by entering config /all in CMD and noting down the Physical address.
Check the Turn Access Control TO Allow.
That’s it! you are done; now only the selected device will be allowed to connect to the wifi network. So above is all about Allow Only Selected Device To Connect On Your Wifi. With this, you can secure your wifi network from others. And can save lots of bandwidth that will get divided when other persons access your wifi network. To implement this MAC Filter process today.


